BOM Settings and Preset

Before creating the BOM, you can select a configuration to use, a filter by category, the types of items to display in the BOM and some other options. First, click the drop-down menu (arrow) on the BOM Settings button.
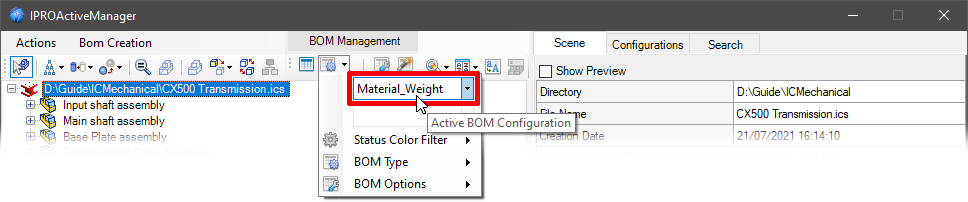
Choose which BOM configuration to use (how to create the configuration).
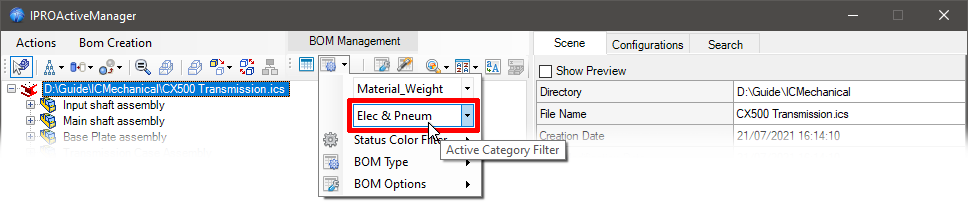
Choose an optional filter by Category (how to create the Category filters).
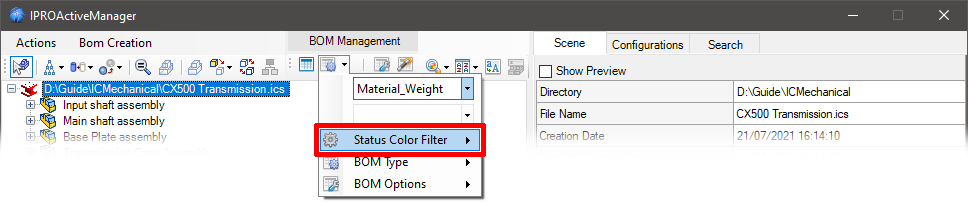
Choose an optional filter by Color Status (how to use Color Status).
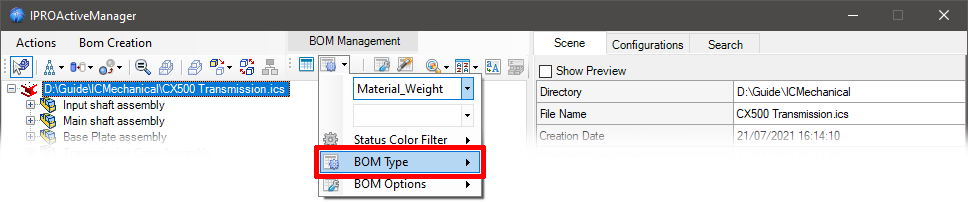
The BOM Type of the flyout menu allows you to check which parts and how should be displayed in the BOM and how to create the BOM itself.
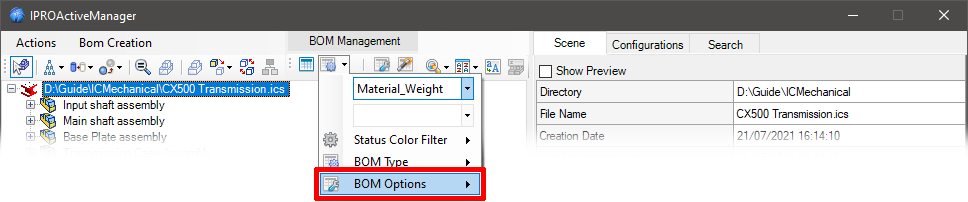
The BOM Options of the flyout menu allow you to include additional BOM data and set other options.
Subsections of BOM Settings and Preset
Status Color Filter
The Status Color Filter in the pop-up menu allows you to choose which parts to display in the BOM based on their assigned status.

You can choose to include/exclude all states or just some of them.
For how to activate the display of the Color States in the TreeView see here BOM Settings Dialog

For how to assign color status to elements, see here, for how to use the status in the BOM, see Config BOM, and for how to search for elements based on their status, see here.
BOM Type
The BOM Type of the flyout menu allows you to check which parts and how should be displayed in the BOM and how to create the BOM itself.

Top Level BOM
Displays only the elements in the top level of the Scene Browser or the elements below the selected assembly.
Only Parts BOM
Show parts only and excludes all assemblies that use the Expand option in BOM;
however, assemblies that use Treat as Part are considered “parts” and appear in the BOM.
Flat BOM
It shows a flat structure as BOM Parts Only, but here you can also choose to include or not include the assembly using Treat as Part or Expand.
And whether to include in count the children parts of Assemblies not in BOM.

With the Options menu you can select how assemblies using the Treat as Part setting should be handled and whether they should be shown (or not shown) in the BOM.
Treatment
- Treat as Assembly - forces all assemblies set to Treat as Part to expand (so ignore treats as part).
- Treat as Part - then use Treat as Part just as they are set.
Add to BOM
- Add the item to the BOM - then show these assemblies as parts in the BOM.
- Don’t add the item to the BOM - so do not show these assemblies in the BOM.
Structured BOM (Stop on Assemblies Treated as Part)
It does not show parts that are included in assemblies set as Treat As Part. The generated BOM will manage the element numbers in different columns (Level 0, Level 1, etc.) thus re-applying the Scene Browser tree.
Multi Level BOM (Force Expand on All Assemblies)
Shows all elements below the selected layer, even if assemblies use the Treat as Part setting. This is a great way to create a complete list of projects with all components.
Multi Assemblies BOM
Automatically create multiple tabs with BOMs, where each tab is a BOM of each assembly in the 3D file.
The Level n° option allows you to set the depth of the search in the tree.
A super fast way to create multiple BOMs at once ;-)
Multi BOM by Category
Automatically create multiple tabs with BOMs, where each tab is a BOM divided by Category.

Click to show content from YouTube.
(read the service's privacy policy)
Tip
If you want to create a specific BOM configuration for each category, you must give the Configuration the same name as the category.

BOM Options
The BOM Options of the flyout menu allow you to include additional BOM data and set other options.

Include All CustomData
Adds a column for each custom data value found in parts/assemblies. Items that do not have a certain custom value will have one blank box per row, which can also be manually filled in directly in the paragraph list, it’s also an easy way to fill in the BOM.
It also shows the Unfolded SheetMetal Parts in the BOM. By default these are not displayed in IronCAD unless they are explicitly unfold.
Include Suppressed Elements
It also includes all the off (suppress) parts/assemblies, so you can get a complete list of everything in the 3D scene.
Counts Parts using Assembly Number
It means that the number of a parts is calculated from the number of the assembly in which it is included and not how many parts are actually contained in the assembly.
Include Element having Empty PartNumber
Items that have no item PartNumber are also counted and give them a “ND_xxx” temporary serial number. This number is not actually saved in the item but is only displayed in the BOM.
Include Element having Empty Description
Items that have no item Description are also counted in the BOM.
Elaborate Children of Not in BOM Assemblies
Also considers parts of assemblies not in the BOM, so they are processed and shown in the BOM.
Compact Layout for Structured BOM
Merges the Levels columns of the BOM Structured and Multi Level into one and creates the numbering based on the nesting of parts and assemblies ex. 1, 1.1, 1.2… 2, 2.1, 2.2, 2.2.1, 2.2.2…
Set Category Filters
Set up filters for categories, so you can create BOMs that include/exclude certain categories.

Categories can be created with the Category tool or in the BOM tab of the ProActive Manager.
Update Excel->Custom during the BOM
If there are CustomData linked to the Excel file, they are updated automatically.
BOM Settings Dialog

In the BOM Settings dialog you can set the default values for the BOM Type and BOM Options for the Grid,

and for the export options to Excel.

File and CustomData Properties
You can also always and automatically assign additional properties to all files you open in: Default File Properties and/or Default CustomData Properties.

In CustomData, you can choose to assign them to assemblies only, parts only, or both; and the field name will be set automatically to the assembly or part see here for more options.